
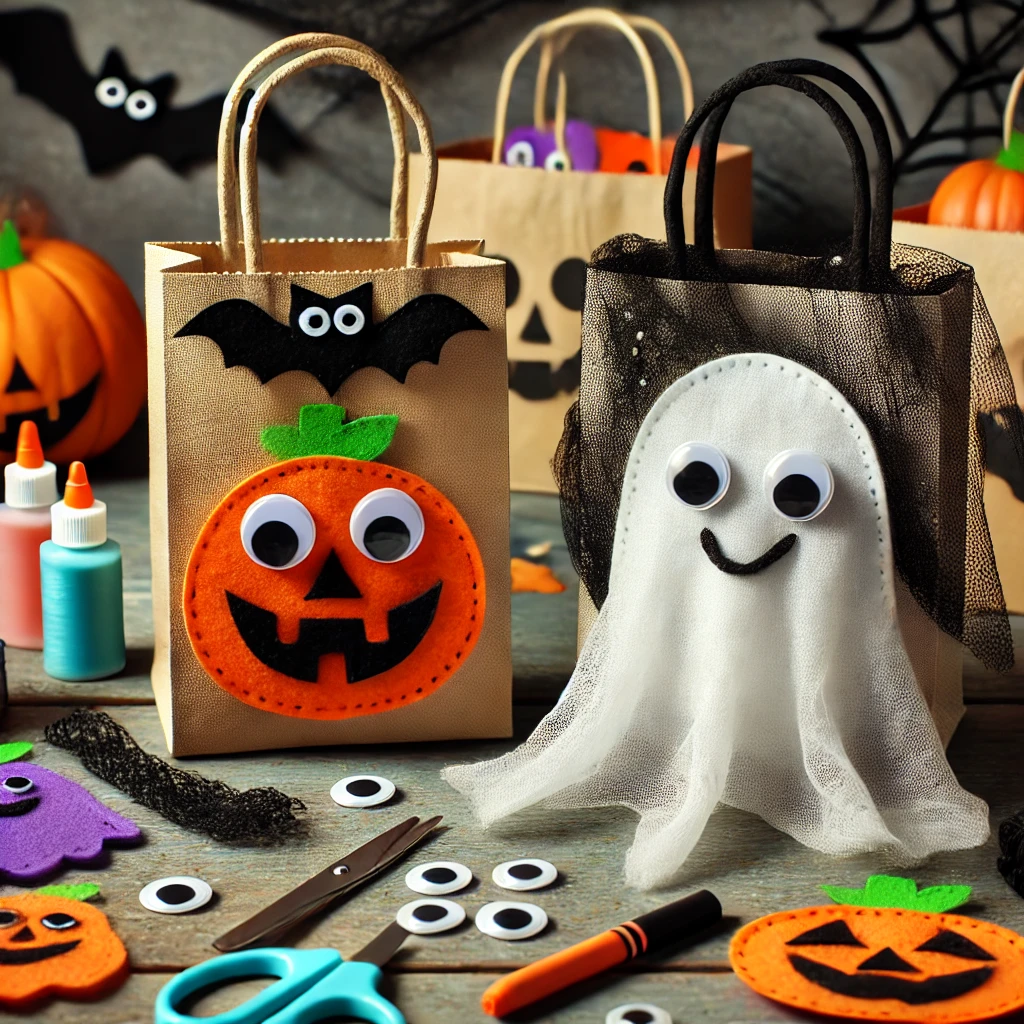
DIY Halloween Treat Bags: Fun and Easy DIY Craft for Trick-or-Treating
Boo! 👻 Ready to add a little magic to your Halloween this year? Forget the plain ol’ plastic pumpkin buckets – we’re about to level up your candy game with DIY Halloween treat bags that are so fun and easy to make, even a ghost could do it!
Whether you’re a crafting witch or just a ghoul who loves a good laugh, these treat bags are perfect for impressing trick-or-treaters without needing any special potions or a trip to the underworld.
Grab your scissors, summon your creativity, and let’s brew up something spooktacular!
DIY Halloween Treat Bags
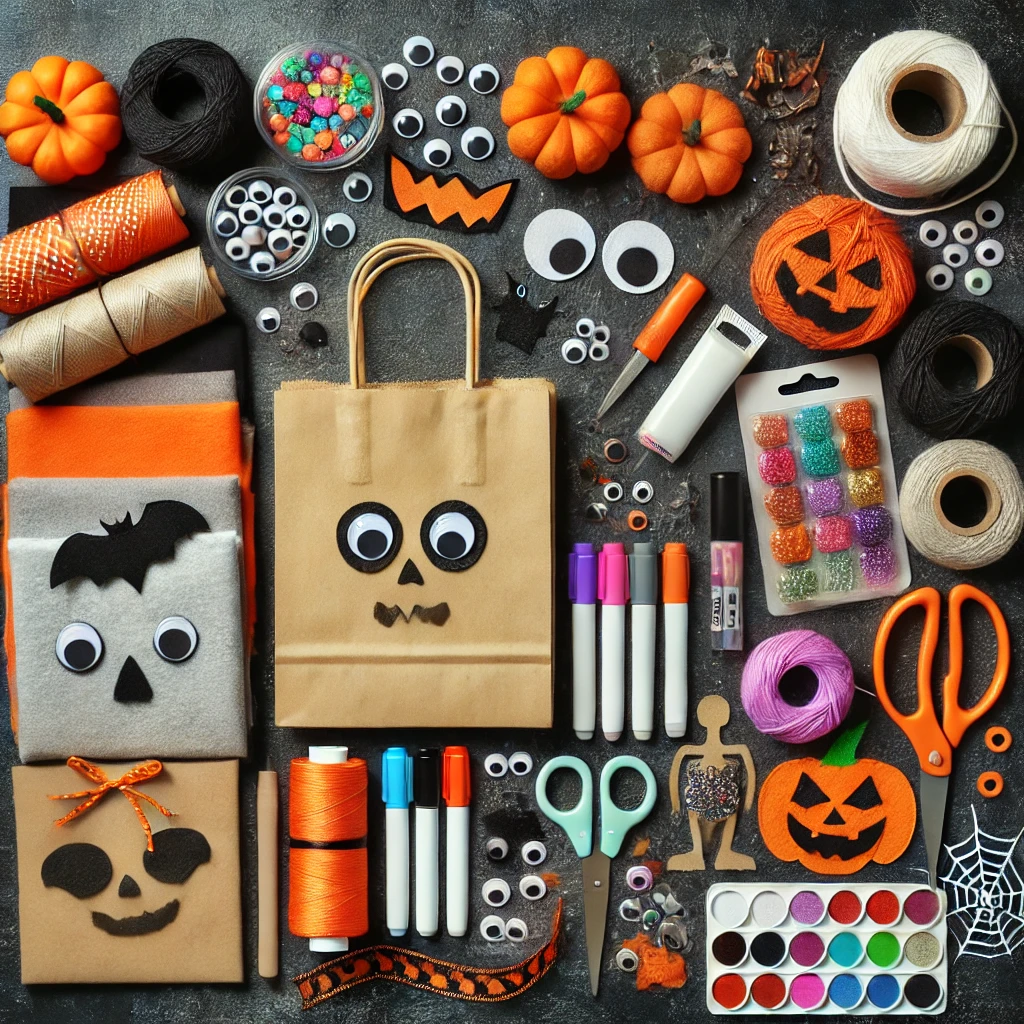 Materials Needed:
- Plain cloth or paper bags (small size works best)
- Felt sheets (orange, black, green, white, and other colors as needed)
- Googly eyes
- Black and colored markers
- Scissors
- Glue (hot glue works best, but craft glue will work too)
- Ribbons, pipe cleaners, or twine (for handles or decoration)
- Glitter (optional for extra sparkle)
Instructions:
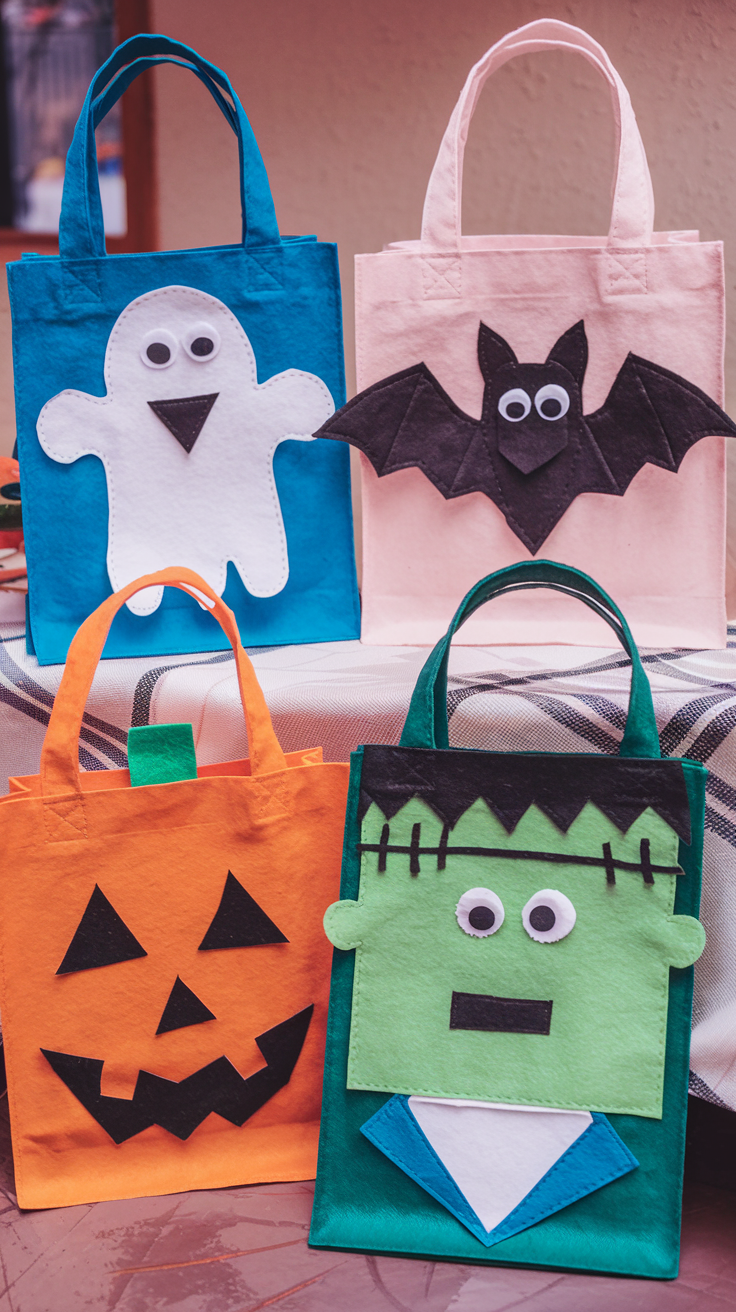
 1. Pumpkin Jack-o’-Lantern Bag
- Step 1: Cut out an orange felt sheet to cover the front of your bag.
- Step 2: Use black felt to cut out triangle eyes, a nose, and a spooky or smiley mouth for your jack-o’-lantern face.
- Step 3: Glue the orange felt onto the bag and then glue on the face pieces.
- Tip: Add some green felt or ribbon at the top for “vines” to give your pumpkin a fun, fresh-from-the-patch look!
2. Ghost Bag
- Step 1: Take a white piece of cloth or white felt and glue it to the front of your bag.
- Step 2: Glue two large googly eyes near the top for a cute ghostly face.
- Step 3: Draw a small, rounded mouth with a black marker for an adorable ghostly expression.
- Tip: Want it to look extra spooky? Cut the bottom of the felt into wavy strips to mimic a flowing ghost or use a gauze stip!
3. Bat Bag
- Step 1: Use black felt to cover the front of your bag and cut out bat wings to glue on each side.
- Step 2: Add two googly eyes and cut out pointy white fangs from white felt for a sharp look!
- Step 3: Draw a bat nose and extra details with markers to finish the face.
- Tip: You can make the wings flap by attaching them with brads or glue them flat for a sleek look.
4. Frankenstein Bag
- Step 1: Cut out a piece of green felt to cover the front of your treat bag. Glue it down securely.
- Step 2: Cut a strip of black felt with jagged edges to create Frankenstein’s hair. Glue the hair onto the top of the bag.
- Step 3: Glue two googly eyes onto the green felt, just below the black hairline.
- Step 4: Cut out a small rectangle of white felt for the “bolts” on Frankenstein’s neck and glue them to the sides of the bag (or you can add them at the bottom corners).
- Step 5: Use a black marker to draw a mouth and stitches on Frankenstein’s face to complete the look.
- Tip: You can also add small black felt circles for the pupils or more stitched details around the edges of the bag to make it extra spooky!
Extra Tips and Ideas:
- Personalize: Add your child’s name with glitter or markers.
- Reusable Fun: Use cloth bags so you can reuse them every year.
- Glow in the Dark: Use glow-in-the-dark paint to make your bags stand out during nighttime trick-or-treating.
Decorating Tips and Customization Ideas
 When it comes to making your DIY Halloween treat bags truly unique, the possibilities are endless!
Start by experimenting with textures and patterns—use fuzzy felt or sequins to add a glamorous touch to your witch or bat bag, or opt for glitter glue to give your pumpkin a sparkling twist.
For a spooky effect, consider using glow-in-the-dark paint or stickers, so your little monsters’ bags light up the night as they trick-or-treat. You can even get creative with fabric scraps, using them to create hair, hats, or accessories for your characters.
Personalization is key! Write each child’s name in glitter or puffy paint for a custom touch, or use stamps to add spooky patterns like bats, stars, or cobwebs.
If you’re feeling extra crafty, try adding dimensional details like googly eyes, pipe cleaner legs for a spider bag, or ribbon “vines” for your jack-o’-lantern. The best part?
These bags can be repurposed after Halloween as storage for toys, art supplies, or holiday gifts. Encourage your kids to help decorate for an added layer of fun—it’s the perfect way to let their creativity run wild!
Eco-Friendly DIY Halloween Treat Bags
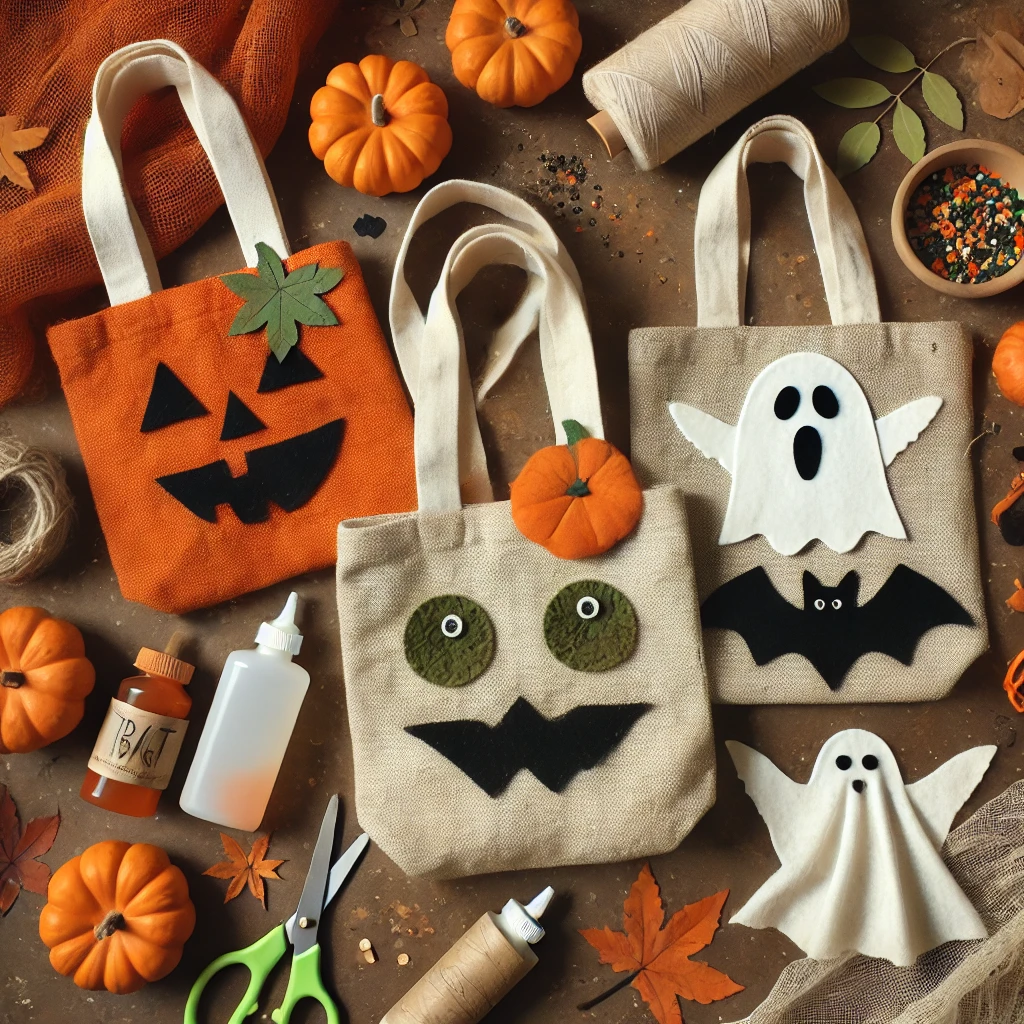 Looking to keep your Halloween crafts sustainable and earth-friendly? There are plenty of eco-friendly options for creating these DIY treat bags that are both fun and mindful of the environment.
Start by opting for reusable cloth bags instead of disposable paper or plastic ones. You can find plain cotton or canvas bags at most craft stores, and they’re sturdy enough to be used year after year.
Not only will this reduce waste, but your custom designs will last for many Halloweens to come!
When it comes to decorating, consider using biodegradable or recyclable materials. For example, instead of traditional glitter, which contains microplastics, you can use eco-friendly glitter made from plant-based materials.
Choose natural fibers like cotton or wool felt for your designs, and try to avoid synthetic options. You can even get creative with recycled materials—old fabric scraps, buttons, or even cardboard can be repurposed into fun decorations for your bags.
Using natural dyes or paints can also keep your craft toxin-free and gentle on the planet.
For glue, opt for a non-toxic, water-based adhesive. And when it comes to filling the bags, consider using paper-based or plant-based alternatives to traditional plastic-wrapped candies.
Share with Us!
These fun and easy DIY Halloween treat bags should make this spooky season extra special! Whether you’re crafting a cute ghost, a spooky bat, or a classic jack-o’-lantern, these personalized bags will bring a smile to trick-or-treaters’ faces and help you stand out from the crowd.
So gather your supplies, unleash your creativity, and dive into the fun! Don’t forget to share your creations with us—we’d love to see your spooky designs in action.
Happy crafting, and have a spooktacular Halloween!