

5 Easy DIY Thanksgiving Centerpieces Kids Can Make for a Festive Table
Thanksgiving is a wonderful time to gather with family and friends, and involving your kids in the preparations can make it even more special.
Creating DIY Thanksgiving centerpieces together not only adds a personal touch to your holiday table but also provides a fun opportunity for kids to express their creativity.
Whether you have crafty little ones or just want to keep them engaged, there are plenty of easy projects that can brighten up your Thanksgiving celebration.
These centerpieces will not only look great but will also give your children a sense of accomplishment as they contribute to the festive atmosphere.
5 DIY Thanksgiving Centerpieces
Pinecone Turkey Craft
 Creating a pinecone turkey is a fun and easy craft that kids can enjoy during Thanksgiving. This project uses simple materials, making it perfect for all ages.
Start by gathering your supplies.
You’ll need a pinecone, some colorful faux leaves, googly eyes, and glue.
Optional items include pipe cleaners for added creativity.
To make your turkey, first, attach the googly eyes to the pinecone. You can use white school glue or a hot glue gun for a stronger hold. This gives your turkey a cute face!
Next, use glue to stick colorful faux leaves at the top of the pinecone. These will represent the turkey’s feathers.
Feel free to use vibrant colors to make your turkey stand out for the Thanksgiving table.
If you want to add legs, cut pipe cleaners into small sections. Glue or poke them into the bottom of the pinecone. This detail adds an adorable touch and makes your turkey look more complete.
Once your craft is finished, display it proudly.
You can place your pinecone turkey on the dinner table, in a bowl, or on a mantel for everyone to admire.
This craft not only keeps kids engaged but also adds a personal touch to your Thanksgiving decorations. It’s an enjoyable way to celebrate the holiday spirit while encouraging creativity.
Handprint Pumpkin Card
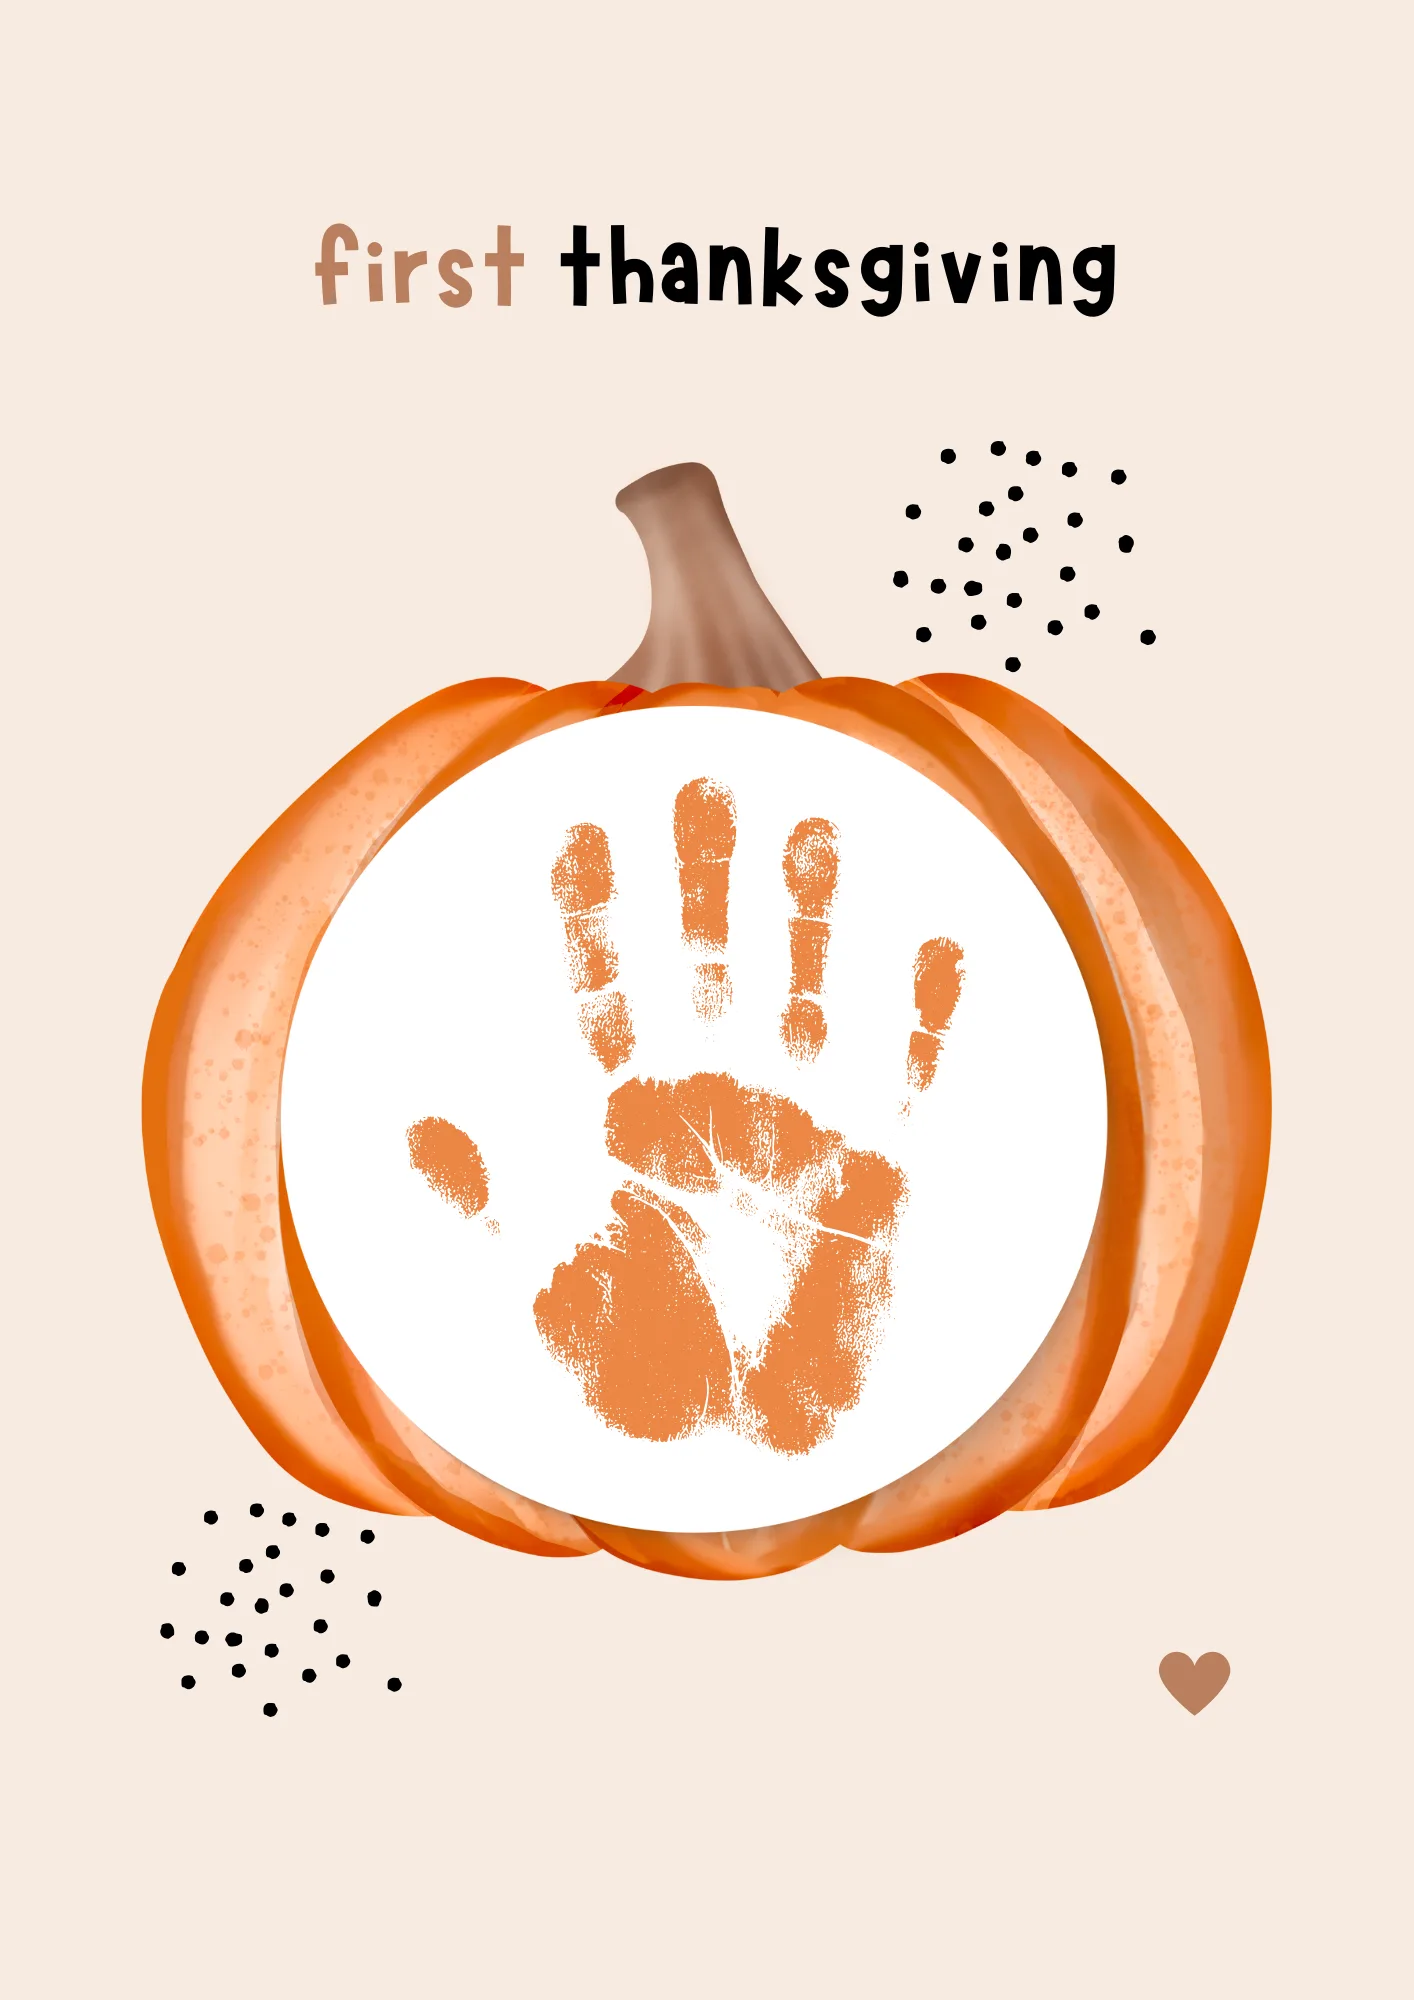 Creating a Handprint Pumpkin Card is a fun and simple project for kids. This craft not only encourages creativity but also results in a charming card that can be shared with family and friends.
To start, gather your materials.
You’ll need orange cardstock, brown cardstock for the stem, scissors, and either paint or a marker. If you choose paint, make sure to use non-toxic options that are safe for kids.
Begin by tracing your child’s hand on the orange cardstock. This will form the pumpkin’s shape. After tracing, help them cut out the handprint carefully.
Next, take the brown cardstock and cut out a small rectangle. This will be the pumpkin’s stem. Glue the stem onto the top of the handprint to complete the pumpkin look.
You can also encourage your child to add personal touches, like drawing or writing a message inside the card. This makes it special for the recipient.
This project is not just about making a card; it’s about spending quality time together. Kids will enjoy the tactile experience of painting or cutting paper, and you’ll create lasting memories.
If you are in a rush- feel free to use our Pumpkin Handprint Thanksgiving Card Template HERE.
Paper Plate Scarecrow
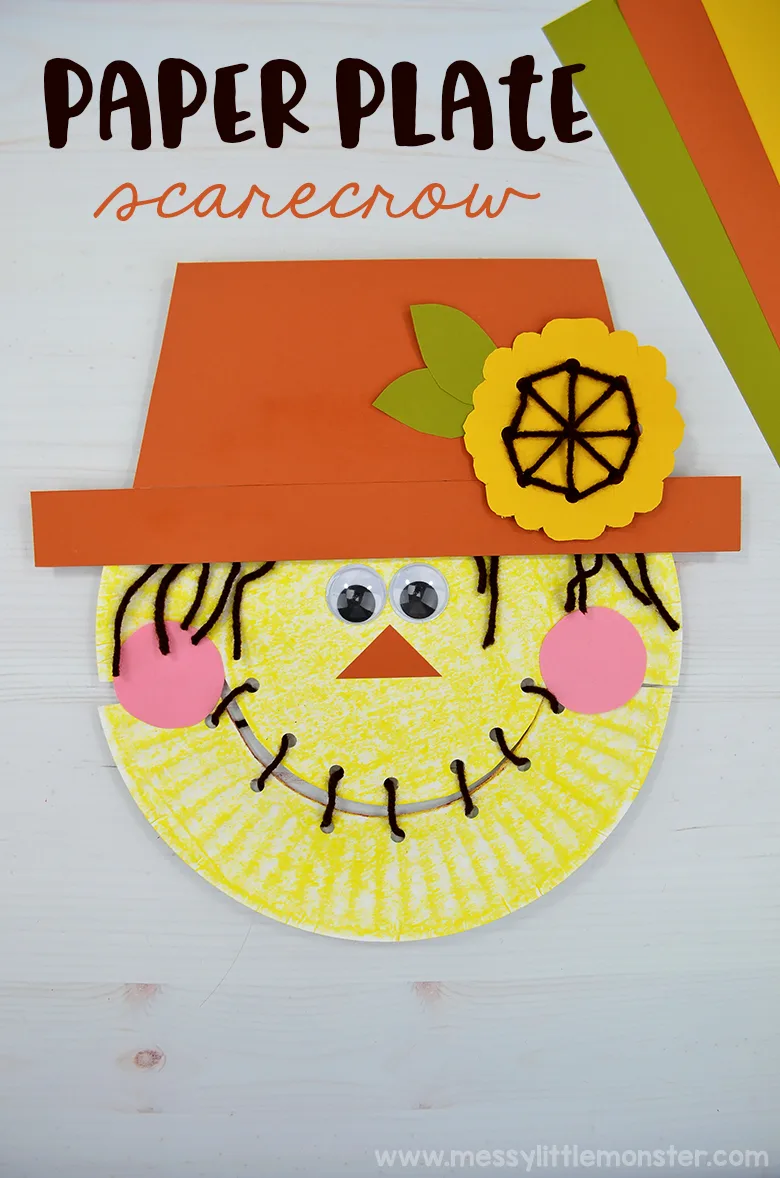 Creating a Paper Plate Scarecrow is a fun and simple craft that kids can enjoy. All you need are a few materials and a little creativity.
Start by painting a paper plate with tan acrylic paint. This will be the scarecrow’s face. Allow the paint to dry completely before moving on to the next steps.
Next, print out a scarecrow template and cut out the pieces. You’ll need a hat, eyes, a mouth, and a nose. Use brown cardstock for the hat to give it a nice sturdy appeal.
Once you have all your pieces ready, glue the hat onto the top of the paper plate. Then, add the eyes and a smiling mouth just below.
For the nose, cut out a small triangle from yellow craft paper and glue it in place.
To add some personality to your scarecrow, use orange pipe cleaners or ribbon pieces to create hair.
Bend them into zigzag shapes and stick them at the sides of the plate. This adds a playful touch!
You can also use additional decorations like buttons or fabric scraps to enhance your scarecrow’s look.
This project not only boosts creativity but also gives kids a chance to express themselves.
Place your completed scarecrow on your Thanksgiving table for a festive touch. It’s an easy and delightful centerpiece that everyone will love!
I love this scarecrow from Messy Little Monsters – its a sweet version!
Leafy Candle Holders
 Creating leafy candle holders is a fun and simple project for kids. You can use glass jars or small containers as the base for this craft. Gather some colorful artificial or real leaves.
Start by applying a layer of mod podge or white glue around the outside of the jar. Be sure to cover it evenly to ensure the leaves stick well.
Next, place the leaves around the jar, overlapping them as you go. This will create a beautiful, natural look.
You can also mix different colors and shapes of leaves for added interest.
Once you’ve covered the jar, let it dry completely. This may take a few hours, so plan to do this project ahead of time.
After the jar is dry, place a tealight candle or small LED candle inside. This will create a warm glow that is perfect for Thanksgiving dinner.
These leafy candle holders not only add charm to your table but also serve as a wonderful way to teach kids about nature and creativity. Enjoy the time spent crafting together!
Mason Jar Lid Pumpkins
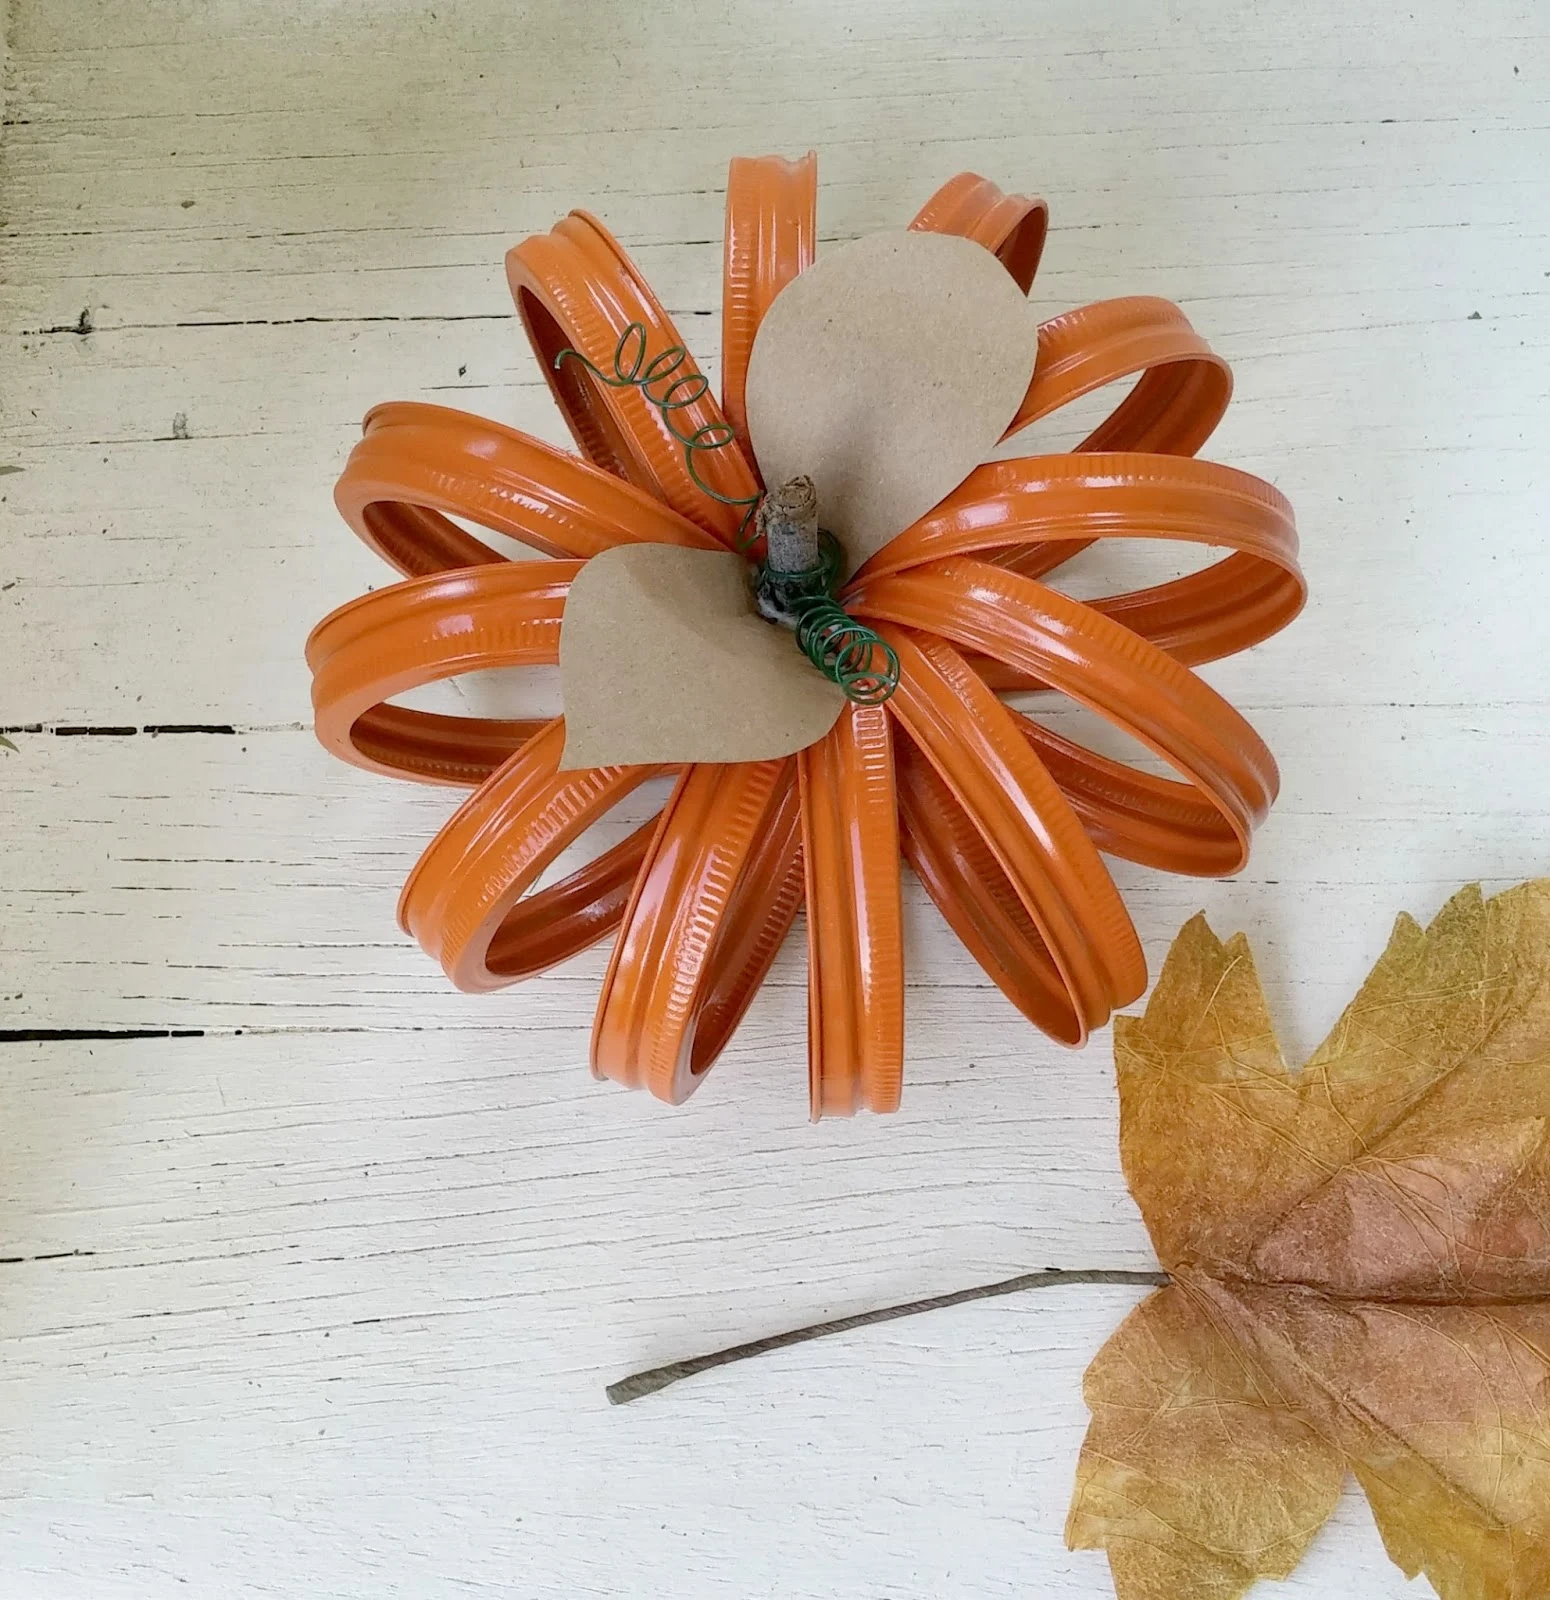 Creating mason jar lid pumpkins is a fun and easy craft for kids. This project uses simple materials and encourages creativity.
To start, gather a collection of mason jar lids. A variety of sizes adds interest to your pumpkins.
You can also paint the lids orange for a classic pumpkin look. Spray paint works well; just apply two coats and allow them to dry.
You will also need pipe cleaners and yarn.
Twist two pipe cleaners together to create a long stem for your pumpkin. This adds a nice touch and makes the pumpkins look more realistic.
Once your lids are dry, lay them out with all the rims facing the same direction. This uniformity helps the final product look neat and tidy.
Use a piece of yarn to tie them together. Pull tight and secure with a double knot, trimming any excess yarn.
For added flair, you can decorate your pumpkins further.
Consider using green leaves or other embellishments to personalize each pumpkin. This allows each child to express their creativity.
You can display these cute pumpkins as a centerpiece for your Thanksgiving table. They’re lightweight and easy to move around, making them a versatile decoration. Check out the Little Vintage Cottage for instructions.
Materials Needed
Creating DIY Thanksgiving centerpieces is a fun and engaging way for kids to express their creativity. Gathering the right materials ensures that your crafting experience is enjoyable and productive. Here are some essential supplies to consider.
Common Craft Supplies
To get started on your centerpieces, you’ll need a selection of common craft supplies. Here’s a list to keep handy:
- Paper: Construction paper or cardstock works well for various projects. Use seasonal colors like orange, brown, and yellow.
- Scissors: Safe scissors suitable for children are necessary for cutting paper and other materials.
- Glue: A strong craft glue or glue sticks will help hold everything together securely.
- Markers and Crayons: Use these for decorating and adding colorful details to your creations.
- String or twine: This can be used to tie elements together or create garlands.
- Natural Elements: Collect leaves, small twigs, or acorns to add an organic touch.
These supplies will help you create a range of fun and festive centerpieces.
Eco-Friendly Alternatives
If you’re looking to make your centerpieces more eco-friendly, consider these alternatives to traditional crafting supplies:
- Recycled Paper: Use old newspapers or scrap paper instead of new paper. This is a great way to repurpose materials and reduce waste.
- Natural Adhesives: Try using flour and water to create a simple paste for gluing instead of synthetic glues.
- Fabric Scraps: Old clothing or fabric remnants make excellent material for adding texture and color.
- Biodegradable Decorations: Look for decorations made from natural materials, like dried flowers or seed paper.
- Reclaimed Items: Use jars, bottles, or other items from your recycling bin as vases or bases for your centerpieces.
Tips for Encouraging Creativity
Fostering creativity in kids can turn simple DIY projects into memorable experiences. By allowing them to take the lead and providing inspiration through colors, you can enhance their artistic expression while enjoying quality time together.
Letting Kids Lead
Encourage your children to take charge of their projects. Ask them what materials they want to use and how they envision their centerpiece.
This empowers them to express their unique ideas. Offer options but let them make the final decisions.
Create a comfortable environment for creativity. It could be a designated craft corner or the kitchen table covered with old newspapers.
Instead of hovering, step back and observe as they work.
Celebrate their efforts. When your child completes a project, display it proudly.
This affirmation boosts their confidence and encourages them to explore more creative ideas in the future.
Inspiring Color Schemes
Introduce the concept of color schemes to help spark ideas.
You can provide examples of seasonal colors like warm oranges, deep reds, and earthy browns that are perfect for Thanksgiving décor.
Consider using color charts or swatches to visualize potential combinations.
You might suggest creating a palette with three or four colors that complement each other.
Engage in conversations about colors.
Ask questions like, “Which colors remind you of fall?” or “What colors do you feel go well together?”
This dialogue not only sparks interest but can also lead to exciting design choices that reflect their personalities.