
Slice Into This Creepy Halloween Tunnel Cake… If You Dare!
Let’s be honest, who doesn’t love a cake with a backstory? And this one practically begs for a tall tale! Who wouldn’t want to present a cake full of tiny tunnels and gooey, rubbery fillings to a room full of kids (or even adults), and the questions start flying—”What kind of creature could have crawled through this thing?” Your answer? “Oh, you don’t want to know!” 😱
Enter the Creepy Halloween Tunnel Cake, a delightfully disturbing dessert that’s equal parts weird and wonderful. It’s so much fun to show off, but even more fun to eat—because who doesn’t love a dessert that makes you question everything?
The best part? This cake is deceptively easy to make! You can change up the flavors and ramp up the creep factor by stuffing those tunnels with gummy worms, bug-like candies, or any other edible oddities your imagination can dream up.
Whether you’re aiming for spooky or silly, this cake has got your back for Halloween and beyond.
Creepy Halloween Tunnel Cake

Tunnel Cake Recipe
Get ready to freak out your guests with this delightfully spooky and delicious Halloween Tunnel Cake! It’s a white cake filled with orange Jell-O tunnels, topped with vanilla frosting, and drizzled with chocolate. The perfect combination of eerie and sweet! 🎃
Ingredients:
For the Cake:
- 1 package white cake mix (prepared as directed for a bundt cake)
For the Gooey Tunnels:
- 3 oz. orange Jell-O mix (or any spooky color you like)
- 3/4 cup boiling water
- 1/2 cup cold water
For the Topping:
- 1/4 cup melted chocolate for drizzling
- Candy corn, gummy worms, vanilla frosting or other creepy candies for decoration
Directions:
-
- Prepare the Gelatin Tunnels:
Dissolve the orange Jell-O in 3/4 cup of boiling water. Stir in 1/2 cup cold water until mixed, then pop it in the fridge. You want the gelatin to cool, but don’t let it set completely—we’re going for gooey, not jiggly! - Bake the Cake:
Prepare the white cake mix following the instructions for a bundt cake. Once it’s baked and fully cooled, turn the cake upside down onto a large platter with a lip (to catch any gelatin that might ooze out). - Create the Tunnels:
Using a straw, skewer, or chopstick, poke tunnels all around the cake, spacing them about an inch apart. Go deep into the cake, creating a random pattern or lines of tunnels—let your creepy creativity shine! - Fill the Tunnels:
Pour the cooled (but not fully set) orange Jell-O into the holes and tunnels. Let the Jell-O ooze down into the cake, filling every spooky crevice. Put the cake in the fridge and let the gelatin set for about an hour. - Add Finishing Touches:
Drizzle melted chocolate over the frosting in spooky, random patterns. Sprinkle the cake with candy corn, gummy worms, or any other creepy candies you like. You can even add plastic spiders for extra spookiness (just make sure no one eats them!). - Show Off and Serve:
Now it’s time to reveal your creepy masterpiece! Slice into the cake and watch the gooey, bloody-looking tunnels appear. Serve and enjoy watching your guests react!
- Prepare the Gelatin Tunnels:
Tips for Making Your Creepy Halloween Tunnel Cake Even Spookier
Use Different Jell-O Colors:
Want to up the creep factor? Try using multiple Jell-O colors like green for slime or red for a bloody effect. You can pour different colors into various tunnels to make the cake look extra gory when sliced!
Go Wild with the Tunnels:
The more tunnels, the better! Randomly poke holes of varying sizes and depths throughout the cake. This will make the gooey Jell-O look like it’s seeping out from all directions, giving the cake a delightfully gross appearance. You can use multiple jello colors as well for a beautifully creepy dessert.
Chill Time is Key:
Make sure the Jell-O has enough time to fully set inside the cake. If you rush this step, the gelatin might not hold its shape, and you’ll end up with a drippy mess. Allow at least an hour for chilling.
Add Crunch for Texture:
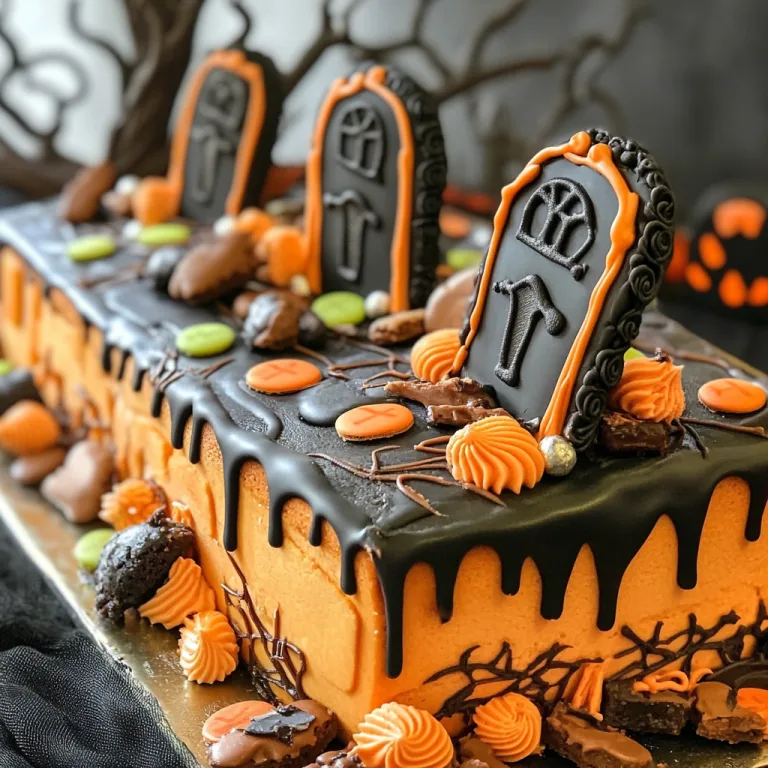
For an added surprise, crush up some cookies or pretzels and sprinkle them over the frosting for a dirt-like texture. It’ll give the cake a creepy “graveyard” look and a satisfying crunch with each bite!
Spooky Decorations:
Don’t be afraid to go all out with the decorations! Add plastic spiders, gummy eyeballs, or even little skeleton hands coming out of the cake. You could also stick in black licorice “vines” or candy bones for an extra fright!
Glow-in-the-Dark Fun:
Use glow-in-the-dark food coloring (available at most craft stores) in your frosting or Jell-O to make the cake glow under black light! Imagine your guests’ surprise when the cake lights up in an eerie glow.
Make it Ahead:
This cake is best when it has had time to chill, so feel free to make it the day before your Halloween party. Just add the frosting and decorations on the day of the event, and you’ll have more time for other spooky preparations!
Serve with a Story:
Set the tone for your party by telling a creepy tale about how “monsters” or “witches” tunneled through the cake. It adds an extra layer of fun and imagination, especially if kids are involved!
Bonus Tip:
Want to really freak out your guests? Serve each slice with a side of extra Jell-O “blood” (just some slightly thickened red gelatin) to pour over the cake for added gruesome drama!
Enjoy!
This creepy tunnel cake is sure to be the talk of your Halloween party—fun to make, fun to eat, and spooky enough to give your guests chills!